The Reason Why

I try to teach my students the importance of asking “why?” when exploring the past but I have realized that I don’t often ask the question myself when reflecting back on my motivations and experiences.  This has been a summer of unbelievable self indulgence in that I have fully given into my interest in photography and spent way too many hours creating in my garage, shooting in downtown Detroit, or just lost in my own thoughts about this project.  But why?  Thanks to my brother from another mother, Eric (74Films) and his crew, I have the answer.

thumbnail

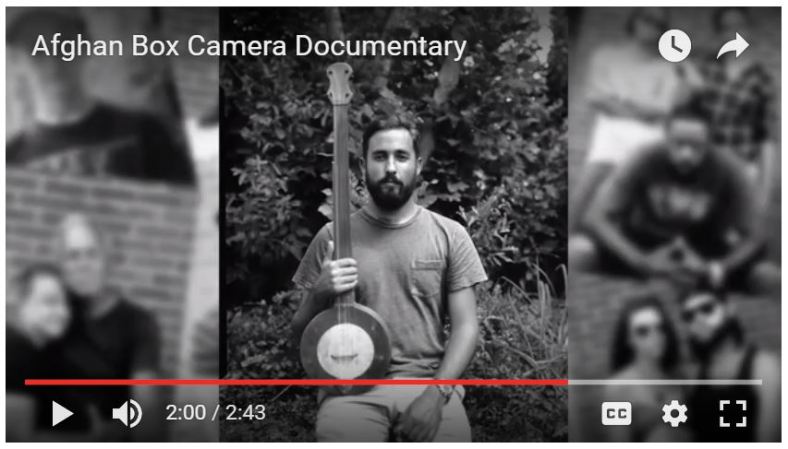
click on screen shot to view the documentary

It was such an interesting experience to be on the lens side of the camera for this documentary.  As a Leo, some say that I thrive on being the center of attention, but I have to say, this was a bit more difficult than I thought it would be.  Translating feelings and inspirations into words is not an easy task.  Eric and Rudy certainly worked hard to get me to describe my motivations in a way that would translate to the viewer.  I hope it works.

I truly hope that this documentary motivates someone to begin that project they have been thinking about, or to disrupt their normal routine and create something, or just get them to ask of themselves, “why?”

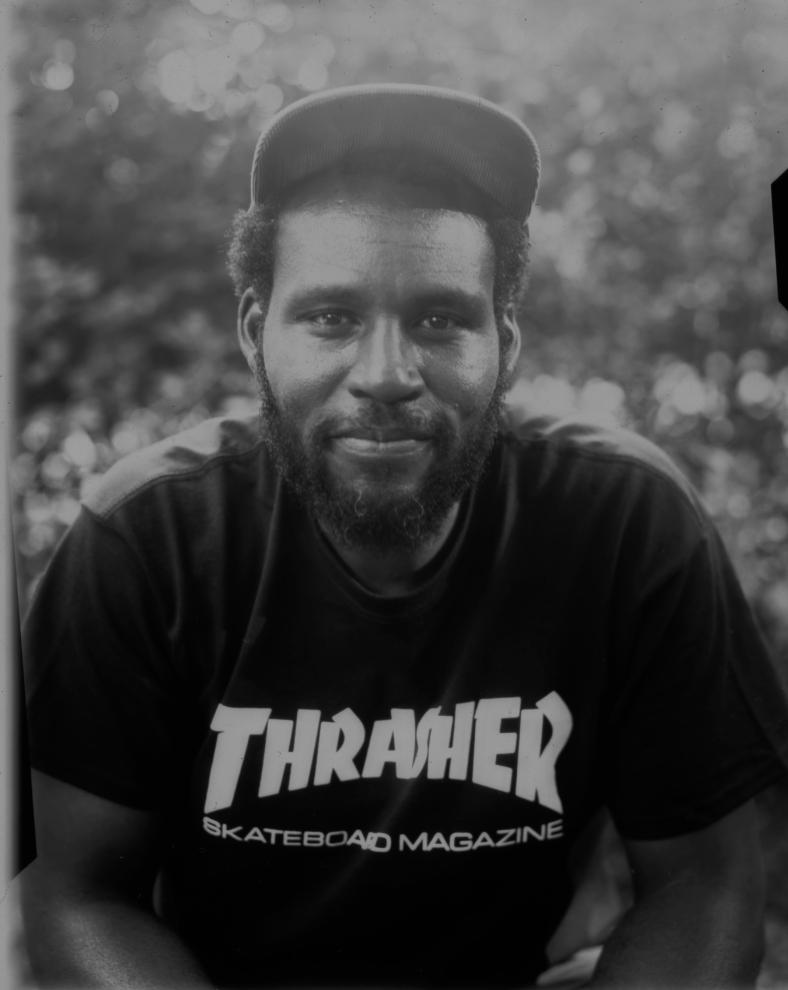
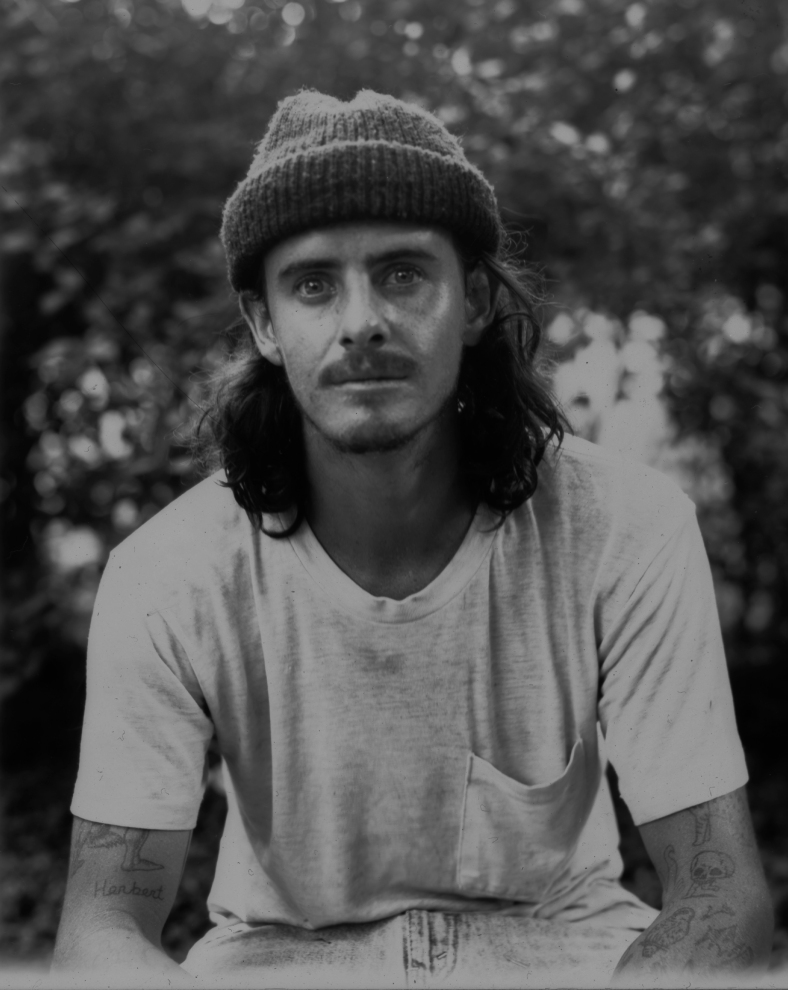
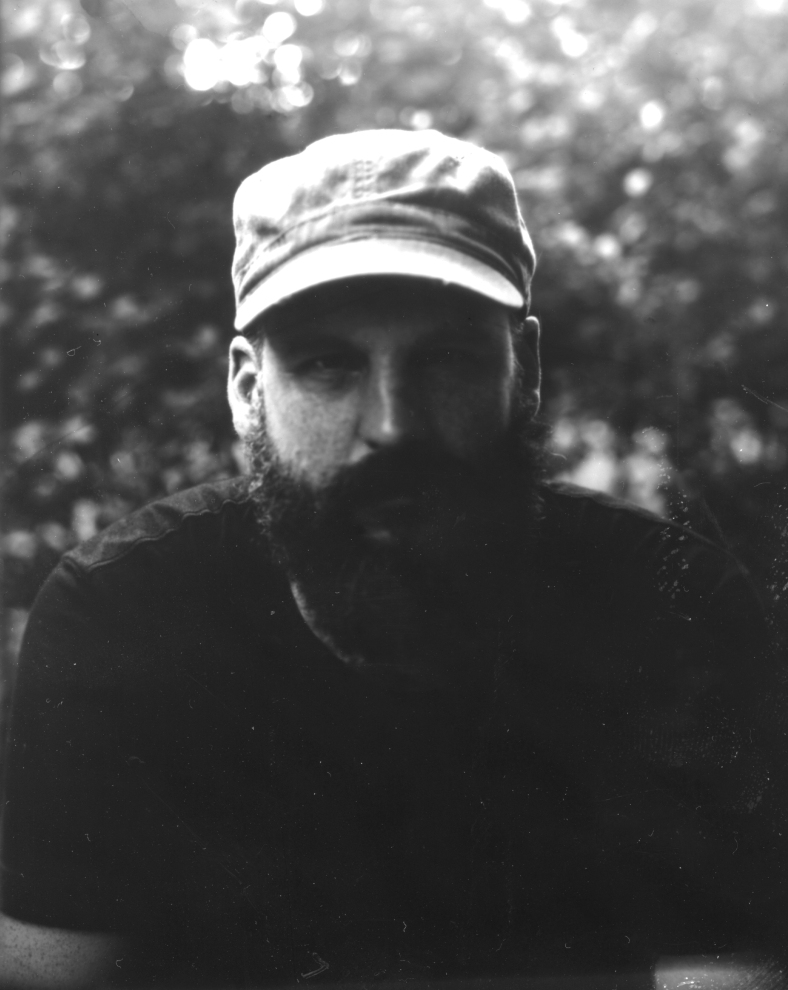
I have been surprised by the response I get when shooting with this camera, regardless of the setting.  Whether I am at a private party, a vintage market, or just shooting out on the street, people have been so interested, so supportive, and some even confused about how the damn thing works.  Thanks to all of those who sat for a portrait as I honed my skills, to all of those who purchased a portrait at Eastern Market, and to everyone who stopped by to check out the box camera and took an interest in what I do.  I am more inspired and motivated than ever to continue creating.

It’s been a busy two weeks [actually it has turned out to be a busy month] (part 2)

The weekend after my photo shoot with Ray and Dolan I was able to attend the “Adroit in Detroit” art exhibit, performance, and reception that was held at Dunwell Dry Goods in Hamtramck.  It was great to see the artwork, photography, and videos by Jason Adams, Dolan Stearns, Javier Mendizabel, Joe Brook, Ewan Bowman, etc.  To top it off, the event was sponsored by Pabst so the PBR was flowing for free.  Thrasher Magazine knows how to throw a party.  The highlight was certainly the hour-long set by Ray Barbee playing his Fender Telecaster through an Orange amplifier and chillin’ the hell out of the hot Detroit night.  Good Times.

Sunday, August 7th marked my first day shooting live portraits at the Eastern Market Sunday Street Market in Detroit.  My good friend, The Marquis de Guac over at left-handedbranded.com talked me into taking my Street Box Camera to the actual streets.  Being a seasoned street vendor of handmade goods, he knows people and knows the scene at Eastern Market and he swore to me that people would be down with my rig.  I believed in him as I always do and I decided to have a go at it.

After a kind introduction to the market manager, Lonni,  I was set up on the north side of Shed 3 ready to take portraits, on the spot, for a fee of $10.  What would people think?  So far I had only had my Box Camera around a small artist community and a group of professional skateboarders who have experience in photography, what would the public reaction be?  To my humble surprise the public was very interested in my rig!  I shot 24 paid portraits and I met so many interesting people from the Detroit area.  I met a guy with no arms who was a graphic designer, two nuns who were training an emotional support dog, and a ton of people who generously supported analog photography by having me take their portraits.

The Marquis was correct.

I have subsequently shot portraits at two other Sunday Street Market days at Eastern Market and tomorrow, August 29th, will mark my 4th Sunday in a row of setting up outside of Shed 3.  It’s been a good summer.

And it just keeps getting better.

It’s been a busy two weeks (part 1)

It started with a text from a friend in the know.  “Would you want to shoot a portrait of Ray Barbee with your box camera?”  A quick call to him confirmed that the skateboard legend/musician/photographer was coming to Detroit and had heard about the box camera I built.  Fast forward four days, I found myself setting up my gear at the drained and grafittied swimming pool in my friends back yard as Ray Barbee, Dolan Stearns, Javier Mendizabel, and Zared Bassett arrived.  Add to the mix Joe Brook and Ewan Bowman, photographer and videographer from Thrasher Magazine, and we all knew a good time would be had.

Although there was some skateboarding going on, the highlight of the day for me was talking to Ray about photography, showing him how my box camera works, and shooting several portraits.  If this would have happened 25 years ago I would have been way more interested in the skating.  I guess I’m getting old.

ray.jpg

Ray Barbee

If you have never seen Ray Barbee skateboard, do yourself a favor and check out this classic clip.  He still has it.  His guitar stylings are also not just worth a listen, but worth adding to your rotation.

dolan

Dolan Stearns

It was an honor to be able to see Dolan not only skate, but grace the pool with a pretty sweet piece of original artwork.  Check out his stuff.

me by ray

Me, as captured by Ray Barbee

Almost as cool as talking about photography with Ray, who must be one of the nicest and most sincere people on the planet, was having my portrait taken by him with my box camera.  It was great to see him learning about how it worked and to see how excited he was about this unbelievably basic form of photography.

Spending the afternoon talking photography with a skateboarding legend was certainly the highlight of my photographic life.  All of us locals in attendance will certainly remember that afternoon for a very long time.  Thanks Ray.

All dressed up

…and finally somewhere to go.

To be honest, part of me thought that this project would only keep me busy over the summer.  I would research, plan, build, take lots of photos of my friends and family, and then the camera would sit.  There was, however, a part of me that envisioned taking it to the streets and shooting unique images of strangers that they would in turn treasure.  While I did spend my first week with the box camera forcing my family to sit for portraits, I was soon introduced to the perfect venue to shoot and hone my craft.

IMG_0258.JPG

The community art scene in Hamtramck is fortunate to have the folks at Poppspacking.org in the neighborhood.  Popps Packing supports NOMAD which they describe as “a mobile cart community, a loose caravan of sorts, that highlights and mobilizes local producers, artists and makers so they can easily showcase, share, sell, perform or exhibit their work in public spaces.”  My friend Scott, lead designer at Left-Handed Branded (check out his designs) created an amazing trailer for the NOMAD caravan/community art gathering and he invited me down to shoot some portraits with the box camera.

It was quite a day.

I showed up at 4pm expecting to hang out and to passively partake in the festivities, but 4 hours later I had taken 21 portraits, exhausted a batch of Dektol developer, traded portraits for original art and beer, and met an array of creative makers and thinkers.  From the neighborhood kids, to the artist in residence, to the tourists visiting from Montreal, everyone was interested in the street box camera and the history of the medium in Afghanistan.  “How does it work?”  “Was it a kit?”  “How long do I have to sit still?”  “Can you take my photo next?”  It was baptism by fire for sure.

Even if I retire my box camera right now, I have done what I thought would not happen.  I have succeded in sharing my love of photography and my fascination with the street box cameras and the photographers that used them.  I now have the hope to continue with the project and to possibly take it in a new direction.  Whatever that direction may be.  For now, I will keep shooting.

Afghan Box Camera – Completed!

The intensity with which I took on this project caught me by surprise.  I was totally immersed in it from the very beginning.  I thought about various aspects of the design and build way too often.  I attribute this to my love of photography in every form, but also to the fact that I told several people close to me that I was going to build this camera over the summer.  I had people that I care about in the back of my mind and I did not want to let them down.

When I say “completed” I mean completed so far.  I have already changed the paper mount on my focus plane, I still have to paint the camera, and I plan on adding an arm to allow me to photograph the negatives without the aid of a nearby wall.  Having said all that, it is completely functional.  Some Dektol, fixer, bucket of water, and old photo paper and I’m in business.  Here are some shots from my first day of learning the ropes.

There is certainly a different look when a shot is made into a positive image in-camera as opposed to scanning in the negative and inverting in photoshop.  The shot of the boy was made into a positve in-camera, whereas the other two were inverted in photoshop which allowed me to adjust brightness and contrast.  I like both and will use both techniques as I see fit.  Certainly they produce different results.

I will wait until I am accustomed to using this camera and can reliably reproduce good results before I expand on the building and shooting process.  I’m sure I will blow through a good amount of paper this summer.  If you’re interested in the results, select images will be posted to instagram.

Afghan Box Camera – Day 10

A friend of mine recently stopped by to check on the progress of the build and he let me know of an amazing, yet disgusting, discovery of his.  As I explained the process of using the Afghan Box Camera to him he told me about cannulated cows.  These are cows that have been sugically implanted with a port hole in their side that allows researchers and veterinarians to stick an arm deep into the digestive tract of the cow to take samples.  When I finally use my camera I will not only be thinking about the wonders of light and chemistry and the ingenuity of the Afghan people, I will be thinking about cow guts.  Thanks Jay.

I am fortunate to live with an amazing manipulator of fabric, and I was able to commission a custom fabric sleeve by stating that the camera would then be complete.  The prospect of me no longer working on what has become a 40 hour project was more than enough motivation to get her to make it.  In all reality, she did it because she is the best woman I know and she treats me well.  Thanks babe.

The sleeve is made from red denim, is double layer, and was mounted with a metal ring that I found at the hardware store.  The ring is intended as a repair for a toilet mounting flange.  It works perfectly to hold the fabric in place.  I may have to paint it black if it reflects light in any wierd ways.  Making a door around the arm hole like other designs did not seem to make sense.  If the camera has a lid, and the rear has a big door, why would I need one for the arm hole?  I think it looks cleaner like this and with the mounting flange, I did not have to use glue.  Hopefully it will work as intended.

Afghan Box Camera – Days 7 – 9: tripod

I took a break from the camera itself and worked on the tripod since I found a great one to work with.  I had begun planning out the tripod and was not looking forward to making it from scratch considering my limited array of tools.  I found a surveying tripod on craigslist that was listed for $70.  I looked at it and determined that it was not composite as listed, but rather was made of wood that was coated with a thin plastic.  I quickly planned out my modifications, and bought it for $55.

It was ugly.

photo (11).JPG

I took it apart, stripped off the plastic with a razor knife (it peeled off pretty easily), cut it down 9 inches (it was too tall as is), painted it black, and reassembled.  There was a lot of sanding needed to prep the metal pieces but the wood needed no prep.  The final product looks so much better.

DSC_1258

With just a 1/2″ hole in the bottom of the camera I can attach it to the tripod with a 1/2 bolt and a wingnut.  I can’t wait to get it all going.

Afghan Box Camera – Day #6

It’s really starting to come together now.  I just want to shoot with this thing already.

I started by mounting the focus system.  Beginning with the rear of the camera I clamped it all in place, double checked the smooth movement, then used wood screws to attach it all to the box.  I did not use adhesive as I want to be able to remove it all in case I need to make adjustments/repairs of any kind.

Attaching the door and lid hinges and mounting the lens almost makes this a functional object.  It is so close.


The eye hole, for observing the development of the exposures, was probably the most fun piece to make.  I decided to construct it from bass wood as that material is so easy to work with and there was no need for the mechanism to be all that strong.  I sanded down the sliding cover so that it would move freely withing the mechanism.  Works smoothly.

At this point it is basically functional except for the arm sleeve.  Time to think about how to attach the sleeve and choose the material.  My wife is a master of the sewing machine so hopefully she will help me out with it.

Afghan Box Camera – Day 5: re-do

DSC_1250
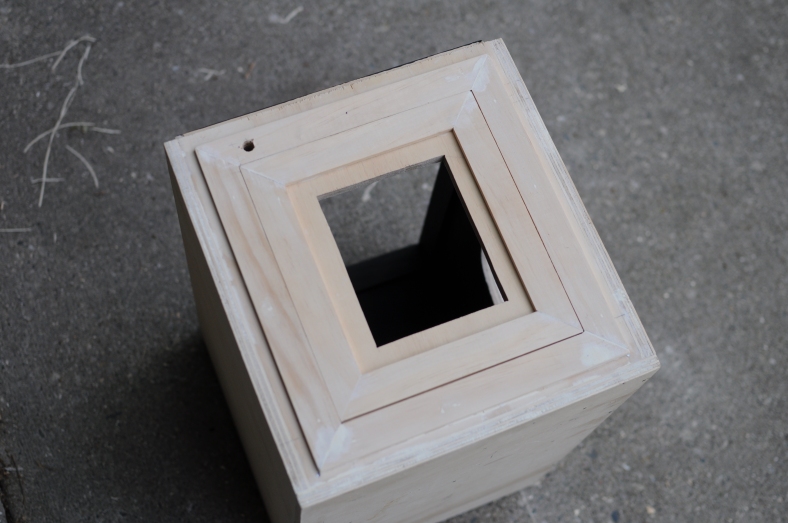
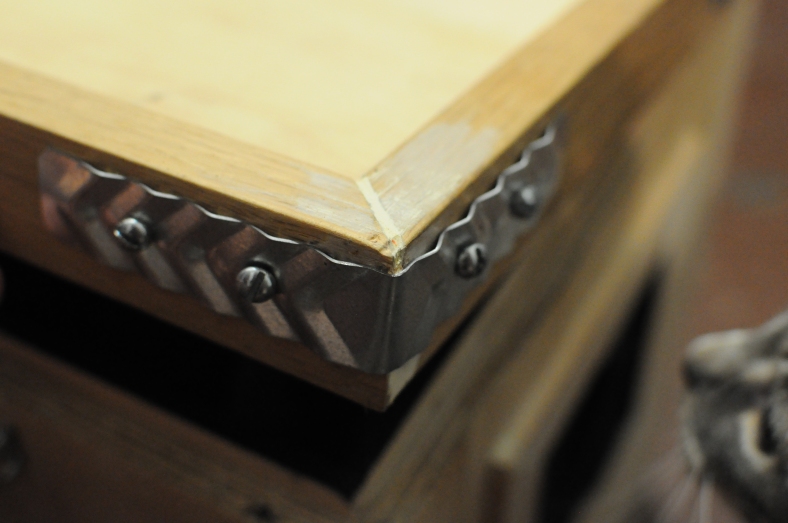
As evidence of my extremely weak wookworking skills and lack of confidence in my construction, I decided to remake the lid.  I reused the materials and made it a bit smaller.  The lid now sits flush with the sides which will make it easier to attach hinges.  Also, not having the best woodworking tools means that, according to my assessment, I was not able to make a strong enough lid.  I have reinforced it with  some metal strapping that pulled the corners together nicely.  Seems solid now.

This is the first time in the build process that I have let myself be constrained by the “conventions” of other Afghan Box Cameras.  I had planned on a hinged lid because they all seemed to have hinged lids, and for no other reason.  I believe the lid should be fastened in what ever manner the photographer chooses.  There could be really creative uses of straps, hasps, or hooks that would not only be completely functional but also allow the builder/photographer to make the camera their own.

Make it your own.

Afghan Box Camera – Days 3 & 4: lens, doors, and focusing

I’ve been piecing together time to work on the camera between the holiday weekend and hanging out with the family, but I was able to make some progress nonetheless.  I have made a rear door, prepped the side for the sleeve to be fitted (once it is made/acquired), cut the hole for the lens, and nearly completed the focus system.  Oh yeah, and I painted the inside flat black, which made it feel more like I am building a camera and less like I’m building a footrest.

DSC_1180.JPG

The rear door was way more difficult than it had to be.  I measured twice, cut once, and still managed to mess it up.  Luckily, I have embraced what I believe is the spirit of the Afghan carpenters and photographers who made these cameras and I have thrown precision to the wind and am winging it.  Well, not really winging it but certainly not stressing about a missed cut.  Like an actor forgetting a line in a stage play, I am so in character that I’m improvising and nobody will know the difference but me.

I seem to only be able to appreciate a light leak when it is on someone elses photos, thus I am paranoid about the light fastness of my box camera.  I have built the rear door to be very light tight with no path for light to enter.

DSC_1178

The access sleeve was tough to figure out.  Making the camera able to handle 4×5 paper (both portrait and landscape) meant that my focus plane needed to be large.  I decided to build up the collar for the sleeve on the outside by cutting a 1/2″ plywood donut to encircle the hole.

The lens hole was simple.  A lensboard was included with the lens so mounting it will consist of screwing it to the front of the camera.  I wanted a cleaner, more consistent look, so I framed the lens board with the same 1″ trim I used for the rear door.  It looks better than just having the lens slapped on the front.

The last addition to this update is the focus system.  My two main concerns with the design and build of the camera are that it is light tight and stable.  The focus plane needs to be stable to create sharp images.  I need to be able to focus, move the focus plane, place photo paper, and return the focus plane to the original position with accuracy.

Considering this I tried to work with tight tolerances.  This was not necessary.  The only thing that is critical is the connection between the focus rod and the focus plane.  The holes in the focus plane should be big enough to allow the focus plane to freely slide back and forth.  I thought that the rods needed to fit tightly to keep the plane solid and the focus repeatable but if the focus rod is secure, the focus plane will be perfect even if the holes you drill for the support rods are way too big.  Don’t worry.

My next steps are to attach the ground glass, install the focus system, the door, the lid, and the hardware.  Another day.